Now that we have a sense of how our game engine will run, we want to be able to put together maps/levels in as quick and easy way as possible. Obviously, editing the map data by hand is about as painful as a rusty saw to the gut, so having a way to visually compile maps with the added convenience of mouse interactions is going to help immeasurably.
A level editor’s prime focus is to provide ease of editing as game’s database. Much like a CMS front-end to a database back-end. They are often ugly, menu driven monstrosities. The more complex the game engine, the uglier, is the general rule. For example, here’s the Unreal Engine level editor:
 (Click for larger image)
There’s really no way around this. Editors are complex systems and you can’t hide everything away. Luckily, our game is a much simpler 2D affair with far fewer elements to it, so its editor can be simpler to match. In more complex situations, like the Unreal editor above, an editor will contain a variation of the game engine so that you can live edit the game.
There are already decent map/level editors out there. Many free. One frequently recommended map editor is Tiled Map Editor and is definitely worth checking out. However, because it’s meant to be generalised, for what we’re after it is overly complicated and it does a few things in contrast to my mental model. Also, with this project being a learning/teaching vehicle, it made sense to build my own anyway. But Tiled does give us a direction to head in:
 (Click for larger image)
A level editor does not need to be as optimised as the game engine and, in simple cases, actually works more like an app, so we can use a lot more maintainable, structured code. A lot of its operations will be infrequently run and are often fine to take several seconds (e.g. exporting level data). Ideally, we would also like it to handle changes effectively. There is every chance that level structures and images will change over the course of development. If we had to rebuild an entire map every time we made some minor alterations, we would not be happy bunnies.
Unlike the rest of this blog, I won’t be documenting every aspect of the editor. Otherwise it would probably end up as a blog series in its own right. Instead this will be more of a discussion and overview of the techniques used. Once it’s done, it’ll go up on the game repo and you can pore over the commented code more closely.
So, with that:
Features our level editor should support
- Asset viewer/explorer
- Maps
- Map selection
- Layers
- Layer selection
- Default layers for required game-related systems such as entities and collisions
- Tile selection
- Tile placement
- Tile animations
- Objects (cave entrances, destructibles, etc...)
- Saving
- Loading
- Exporting game data
Bonus features
- Repeat tile placement on mouse drag
- Grouped tile placement (patterns).
- Map zooming
- Tileset zooming
- Grids
This list is a sort of level editor MVP, if you like. Though, even with this list there are some conveniences, like a map selector (That could easily be a variable in the code which you change and then reload the page).
Assets
In our case, the only assets the editor will deal with are graphics. I suspect other assets like audio would be directly implemented into the game engine later.
One thing almost all existing 2D editors do is require you to create a tileset before doing anything else:

Personally, I find this odd as I would think that would be incredibly limiting and prone to problems if the tileset ever changes (which it will). Since a level editor is a sort of build step, it makes more sense to me to use the individual tile images as separate images and have the editor create the final spritesheet on export. Or is it just me?
But, having thought about it, by creating this tileset ahead of time, it does make a lot of things simpler when writing the editor. I don’t think it’s an ideal way of handling assets, as it’s less easy to understand visually, when selecting tiles. But there are ways to alleviate some of these issues.
What is our Editor?
Before I go on, I want to mention that this editor is a good chance to try out the latest JS and CSS techniques. I develop on up-to-date Chrome Beta and Chrome Canary, one or both of which has experimental flags switched on. Therefore not all techniques used on this editor may work for you. Soz.
From an interface perspective, our editor is made of the following components:
- Viewport
- Sidebar
- Info panel
- Map panel
- Layer panel
- Asset panel
All of that is laid out using HTML. Let’s not make more JS work for ourselves as we need to.
And that currently looks a bit like this:
<main>
    <div class="Screen">
        <div class="Viewport"></div>
    </div>

    <div class="Sidebar">

        <div class="Panels">

            <div class="InfoPanel">
                <a href="#" class="export-world">export world</a>
            </div>

            <div class="MapsPanel">
                <ul class="MapsPanel-maps"></ul>
            </div>

            <div class="LayersPanel">
                <ul class="LayersPanel-layers"></ul>
            </div>

            <div class="TilesetsPanel">
                <div class="tabs">
                    <div data-tab="tiles" class="active">Tiles</div>
                    <div data-tab="patterns">Patterns</div>
                </div>

                <div class="tab-container">
                    <div data-tab="tiles">
                        <div class="Tiles">
                            <div class="marker"></div>
                        </div>

                    </div>
                    <div data-tab="patterns">
                        <div class="patterns"></div>
                    </div>
                </div>
            </div>
        </div>
    </div>

</main>
With a bit of CSS Flexbox magic, that looks like:
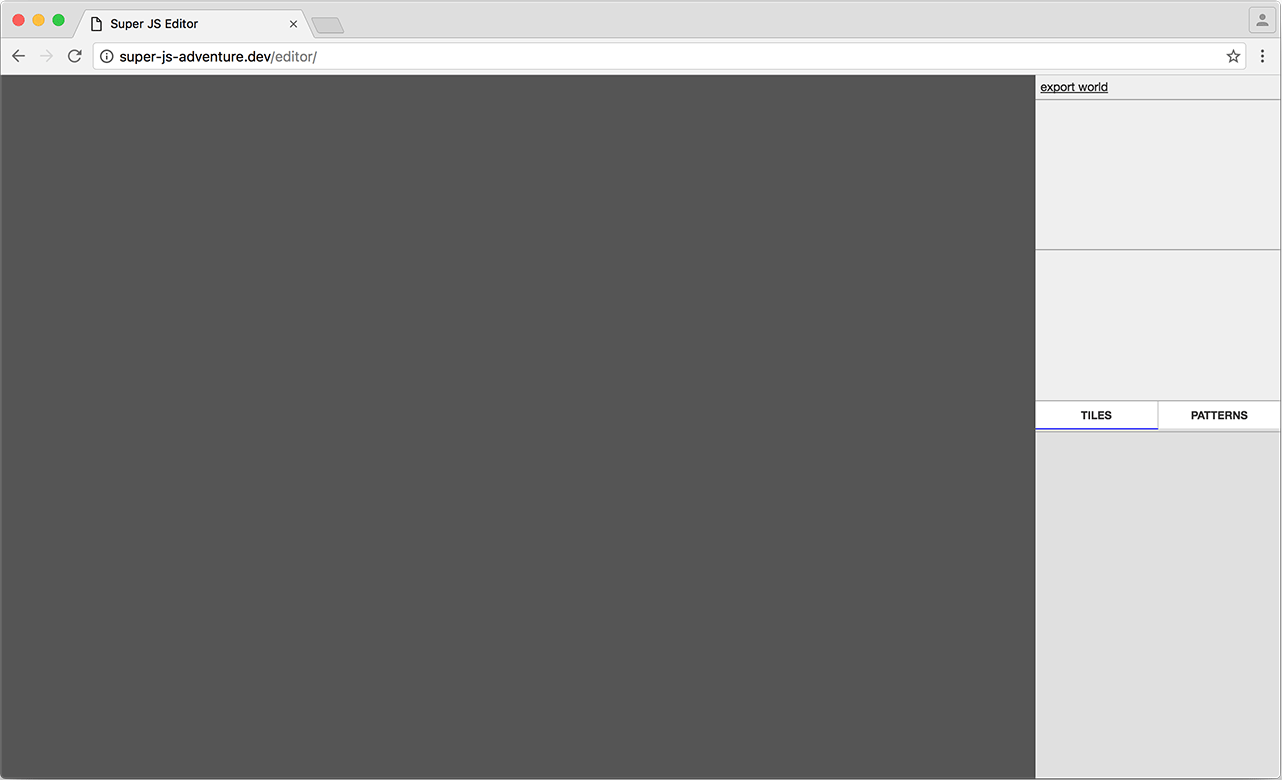 (Click for larger image)
The next step is to provide some basic configuration information:
let config = {
    maps: [
        { "name": "overworld", "width": (32 * 16), "height": (22 * 12) },
        { "name": "dungeon1", "width": (32 * 6), "height": (22 * 6) },
        { "name": "dungeon2", "width": (32 * 4), "height": (22 * 8) },
        { "name": "dungeon3", "width": (32 * 5), "height": (22 * 6) },
        { "name": "dungeon4", "width": (32 * 4), "height": (22 * 8) },
        { "name": "dungeon5", "width": (32 * 4), "height": (22 * 8) },
        { "name": "dungeon6", "width": (32 * 6), "height": (22 * 8) },
        { "name": "dungeon7", "width": (32 * 6), "height": (22 * 8) },
        { "name": "dungeon8", "width": (32 * 5), "height": (22 * 8) },
        { "name": "dungeon9", "width": (32 * 8), "height": (22 * 8) },
        { "name": "cave1", "width": (32 * 1), "height": (22 * 1) }
    ],

    layers: ['bg', 'world', 'top', 'collision'],

    tilesets: [
        'overworld-terrain.png'
    ],

    objects: []

}
Map widths are provided in tiles, but internally all widths will be handled in pixels. Here, because I think of this game in ‘rooms’ I’ve supplied the calculations or the number of tiles to make it more understandable where the dimensions have come from. The overworld, for example, is a grid of 16x12 rooms. Each room is 32x22 tiles. So the overworld map size is (32*16) by (22*12) tiles or 512x264.
Then, using a sprinkling of (spanking new ES2015 syntax) JS we loop through the various arrays and populate the sidebar. e.g.
let LayersPanel = {
    init(layers) {
        this.panel = document.querySelector('.LayersPanel');
        this.container = this.panel.querySelector('.LayersPanel-layers');

        for(let layer of layers) {
            let li      = document.createElement('li');
            let label   = document.createElement('label');
            let input   = document.createElement('input');
            let text    = document.createTextNode(layer);

            input.setAttribute('type', 'checkbox');
            input.setAttribute('checked', 'checked');

            label.appendChild(text);
            li.appendChild(input);
            li.appendChild(label);

            this.container.appendChild(li);
        }
    }

}
Mmm... just look at that delicious jQuery-less DOM manipulation. That will give us something along the lines of:
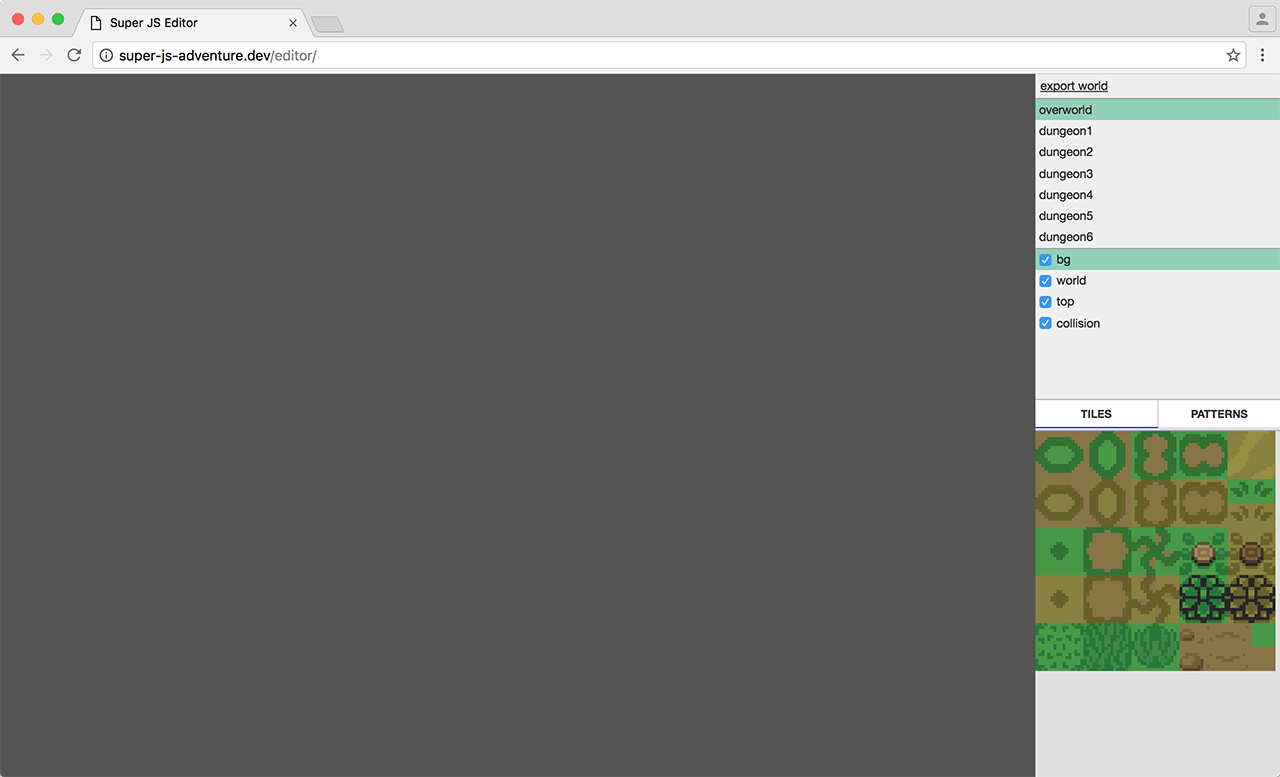 (Click for larger image)
That should give us a good place to start. In the next part, I’ll go into more detail.